- Главная
- Разное
- Дизайн
- Бизнес и предпринимательство
- Аналитика
- Образование
- Развлечения
- Красота и здоровье
- Финансы
- Государство
- Путешествия
- Спорт
- Недвижимость
- Армия
- Графика
- Культурология
- Еда и кулинария
- Лингвистика
- Английский язык
- Астрономия
- Алгебра
- Биология
- География
- Детские презентации
- Информатика
- История
- Литература
- Маркетинг
- Математика
- Медицина
- Менеджмент
- Музыка
- МХК
- Немецкий язык
- ОБЖ
- Обществознание
- Окружающий мир
- Педагогика
- Русский язык
- Технология
- Физика
- Философия
- Химия
- Шаблоны, картинки для презентаций
- Экология
- Экономика
- Юриспруденция
Basic animal treatments презентация
Содержание
- 1. Basic animal treatments
- 2. What are basic animal treatments?
- 3. Vaccination For feline combination vaccines that do
- 4. Vaccination sites
- 5. Giving a vaccine When giving the vaccine,
- 6. De-worming The recommended dose rates are: 15
- 7. Worm treatment The tablets can be given
- 8. When should dogs be treated? -Puppies should
- 9. De-fleaing
- 10. Tick removal Incorrect removal can result in:
- 11. Why is incorrect removal serious? Incorrect removal
- 12. Removal using fine tweezers Ideally, wear rubber
- 13. Using a tick removal tool Ideally, wear
- 14. The O'Tom Tick Twister
- 15. Grooming Regular brushing improves the appearance
- 16. Pet Grooming Tools 1. Slicker Brush -
- 17. Health checking Start at tip of head
- 18. Administering treatments The easiest way to give
- 19. Down the hatch! If your dog will
- 20. Getting ready Hold the pill between your
- 21. Squeeze behind the upper canine teeth
- 22. Giving the tablet Quickly place the pill
- 23. Dental problems Halitosis (bad breath) is caused
- 24. Dental care Provide a healthy diet –
- 25. Foot care Get animal used to claw
- 26. Claw trimming Hold a paw in one
Слайд 3Vaccination
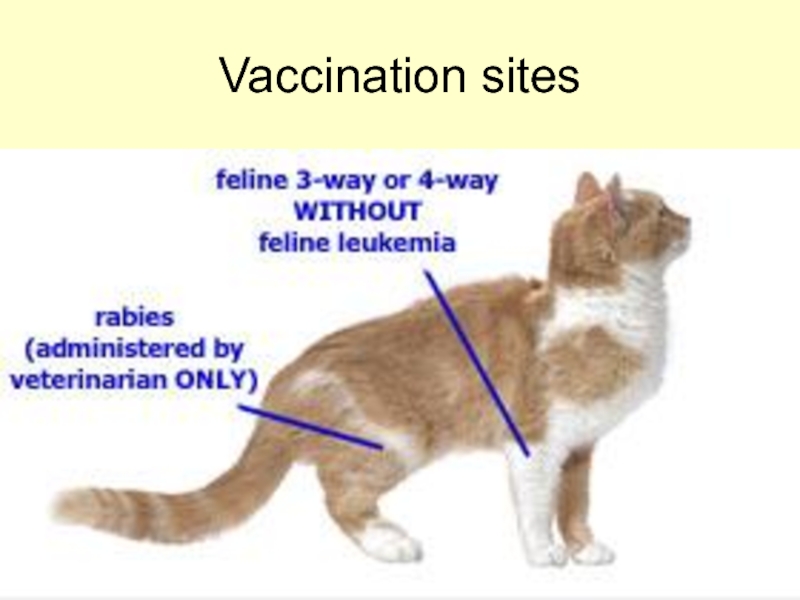
For feline combination vaccines that do NOT contain feline leukemia, the
injection should be given on the outside portion of the ______ ________ _____ below the elbow joint.
For rabies vaccines the injection should be given subcutaneously on the outside of the right _____ leg below the knee.
For feline leukaemia vaccines, the injection should be given on the outside of the left rear leg, below the _________.
For rabies vaccines the injection should be given subcutaneously on the outside of the right _____ leg below the knee.
For feline leukaemia vaccines, the injection should be given on the outside of the left rear leg, below the _________.
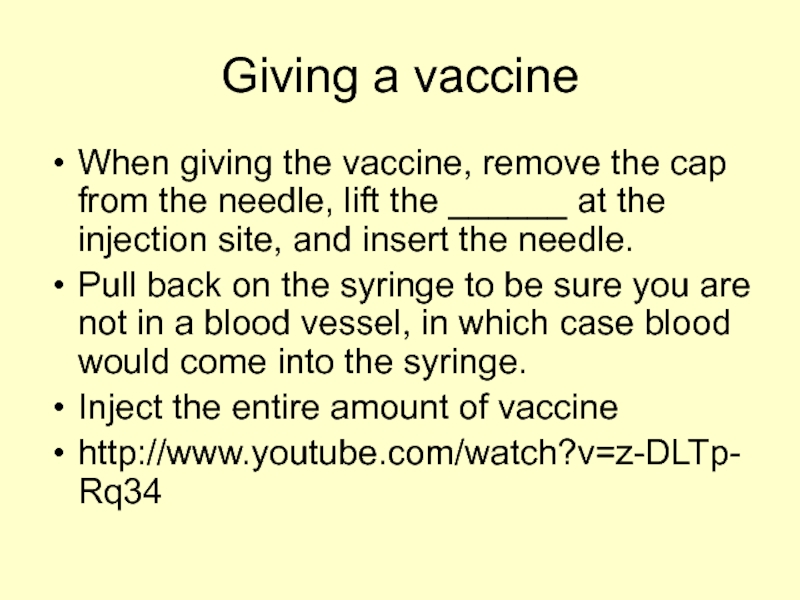
Слайд 5Giving a vaccine
When giving the vaccine, remove the cap from the
needle, lift the ______ at the injection site, and insert the needle.
Pull back on the syringe to be sure you are not in a blood vessel, in which case blood would come into the syringe.
Inject the entire amount of vaccine
http://www.youtube.com/watch?v=z-DLTp-Rq34
Pull back on the syringe to be sure you are not in a blood vessel, in which case blood would come into the syringe.
Inject the entire amount of vaccine
http://www.youtube.com/watch?v=z-DLTp-Rq34
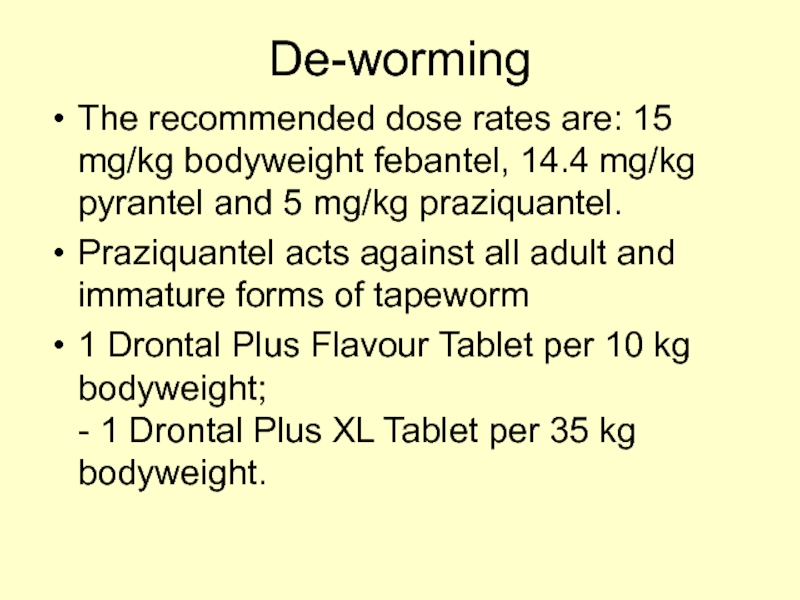
Слайд 6De-worming
The recommended dose rates are: 15 mg/kg bodyweight febantel, 14.4 mg/kg
pyrantel and 5 mg/kg praziquantel.
Praziquantel acts against all adult and immature forms of tapeworm
1 Drontal Plus Flavour Tablet per 10 kg bodyweight; - 1 Drontal Plus XL Tablet per 35 kg bodyweight.
Praziquantel acts against all adult and immature forms of tapeworm
1 Drontal Plus Flavour Tablet per 10 kg bodyweight; - 1 Drontal Plus XL Tablet per 35 kg bodyweight.
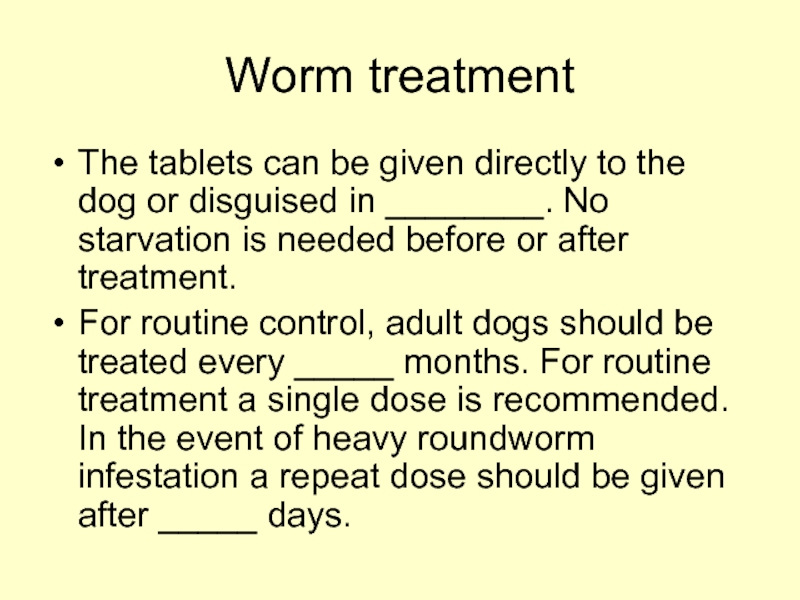
Слайд 7Worm treatment
The tablets can be given directly to the dog or
disguised in ________. No starvation is needed before or after treatment.
For routine control, adult dogs should be treated every _____ months. For routine treatment a single dose is recommended. In the event of heavy roundworm infestation a repeat dose should be given after _____ days.
For routine control, adult dogs should be treated every _____ months. For routine treatment a single dose is recommended. In the event of heavy roundworm infestation a repeat dose should be given after _____ days.
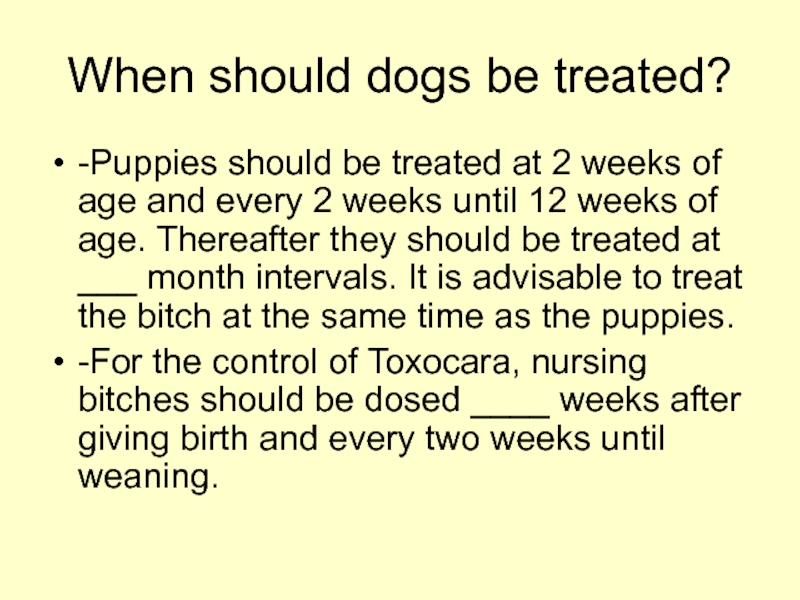
Слайд 8When should dogs be treated?
-Puppies should be treated at 2 weeks
of age and every 2 weeks until 12 weeks of age. Thereafter they should be treated at ___ month intervals. It is advisable to treat the bitch at the same time as the puppies.
-For the control of Toxocara, nursing bitches should be dosed ____ weeks after giving birth and every two weeks until weaning.
-For the control of Toxocara, nursing bitches should be dosed ____ weeks after giving birth and every two weeks until weaning.
Слайд 10Tick removal
Incorrect removal can result in:
The tick's mouth parts being left
behind in the skin.
Compression of the tick's abdomen.
Puncture of the tick's body.
Injury and stress to the tick.
Compression of the tick's abdomen.
Puncture of the tick's body.
Injury and stress to the tick.
Слайд 11Why is incorrect removal serious?
Incorrect removal can result in the introduction
of infective organisms from the tick's stomach contents and saliva.
Leaving behind the tick's mouth parts can result in septic abscesses which can lead to septicaemia.
Compressing the tick's abdomen can cause its stomach contents to be squeezed back into the blood stream of its host.
Puncturing the body of the tick can spill its stomach contents, which may contain infective organisms.
Causing injury or stress to the tick can result in it regurgitating the blood meal that it has ingested. This may contain infective organisms and result in the host contracting a serious infection.
Stress to the tick can result from applying solutions such as alcohol, aftershave, oils / butter, paraffin or petroleum jelly. Also from applying a freezing agent or burning the tick with a cigarette, lighter, or match.
These methods might be successful in getting a tick to release its grip, but they can also significantly increase the chances of disease transmission.
Слайд 12Removal using fine tweezers
Ideally, wear rubber / plastic gloves or, in
the absence of gloves, shield fingers with tissue or paper.
1) Grasp the tick as close to the host's skin as possible and pull upwards with steady, even pressure. Do not twist or jerk the tick as this may leave the mouth parts embedded, or cause the tick to regurgitate infective fluids. Remove any embedded mouth parts with tweezers or a sterilised needle.
2) Do not squeeze or crush the body of the tick, because its fluids (saliva and gut contents) may contain infective organisms.
3) Do not handle the tick with bare hands, because infective agents may enter through breaks in the skin, or through mucous membranes (if you touch eyes, nostrils or mouth).
4) After removing the tick, disinfect the bite site and wash hands with soap and water.
Слайд 13Using a tick removal tool
Ideally, wear rubber / plastic gloves or,
in the absence of gloves, shield fingers with tissue or paper.
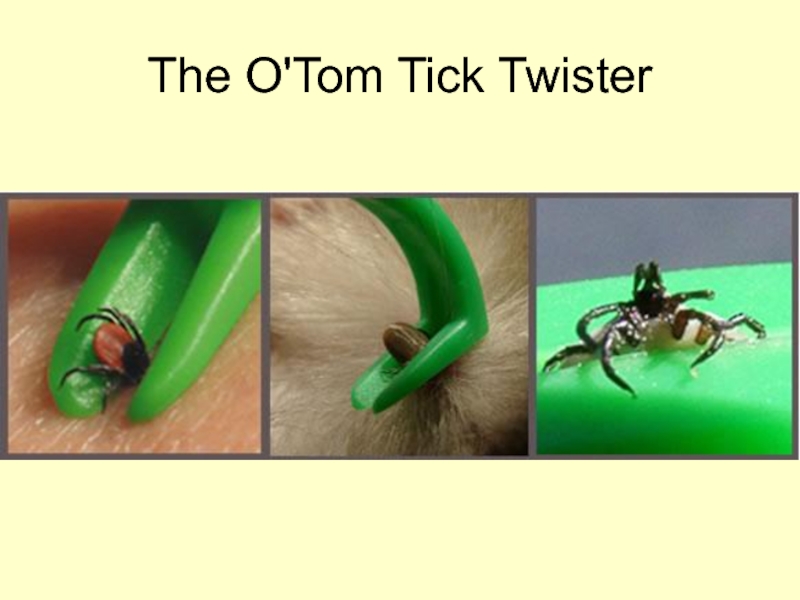
Engage the hook by approaching the tick from the side (the body of the tick is flat) until it is held securely.
Lift the hook very lightly and TURN IT (screwing or unscrewing). The tick detaches itself after 2-3 rotations.
After removing the tick, disinfect the bite site and wash hands with soap and water.
Слайд 15Grooming
Regular brushing improves the appearance of their coats and reducing
the __________ that can hurt their skin
Regular brushing increases the chances of discovering …………………………………..
Brush long-haired pets every day and short-haired ones ____________.
Brush in the opposite direction of hair growth, one section at a time, starting at the skin and moving outward.
Work the hair gently to remove knots -- matted fur can sometimes be loosened with a drop or two of mineral oil -- or cut them out with _______
Слайд 16Pet Grooming Tools
1. Slicker Brush
-
2. Curry Comb
3. Mat Splitter
-
4. Nail Clippers
- good for most cats and dogs.
5. Undercoat Rake -
6. Wood-Handled Comb
7. Basic Comb -
8. Shedding Blade -
5. Undercoat Rake -
6. Wood-Handled Comb
7. Basic Comb -
8. Shedding Blade -
Слайд 17Health checking
Start at tip of head and check all parts of
the animals body down to the tip of the tail
Слайд 18Administering treatments
The easiest way to give a pill is to hide
it in a piece of ________.
A small amount of butter, peanut butter or canned pet food, can be used.
It is best to give a small amount of the food without the pill first. This lowers your dog's suspicion index.
It is best not to mix the medication in an entire meal, since if the dog does not eat the whole meal, he ………………………...
Слайд 19Down the hatch!
If your dog will not take the pill in
food, then it is down the hatch.
Get the pill out of the bottle and place it where it will be handy.
Call your dog to you in a happy voice. If you do not sound worried or concerned, your dog will be less likely to feel that way as well.
Place your dog's hind end against something so he cannot back away from you.
Get the pill out of the bottle and place it where it will be handy.
Call your dog to you in a happy voice. If you do not sound worried or concerned, your dog will be less likely to feel that way as well.
Place your dog's hind end against something so he cannot back away from you.
Слайд 20Getting ready
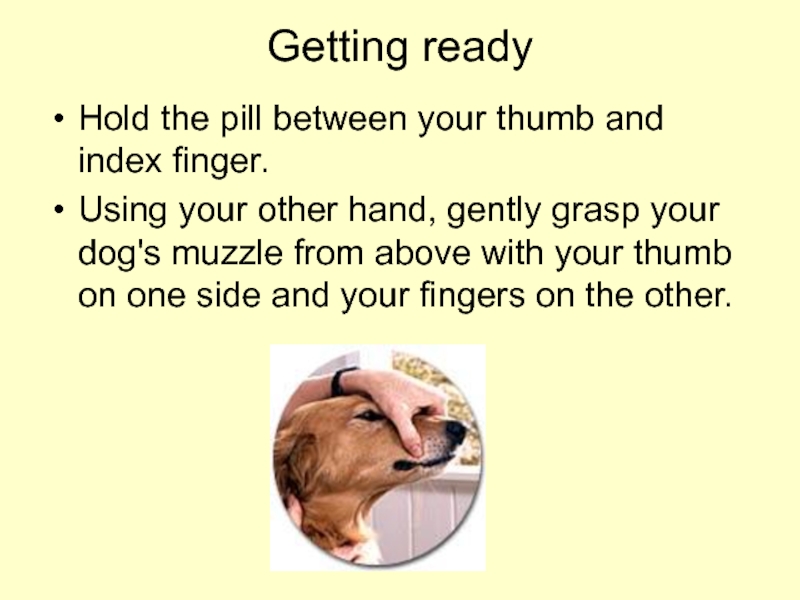
Hold the pill between your thumb and index finger.
Using
your other hand, gently grasp your dog's muzzle from above with your thumb on one side and your fingers on the other.
Слайд 21
Squeeze behind the upper canine teeth and tilt your pet's head
back over his shoulders so he is looking at the ceiling. His lower jaw will automatically drop a bit.
Use one of the other fingers of your right hand to lower the bottom jaw further by placing the finger between the lower canine teeth (the long front teeth) and pushing down.
Use one of the other fingers of your right hand to lower the bottom jaw further by placing the finger between the lower canine teeth (the long front teeth) and pushing down.
Слайд 22Giving the tablet
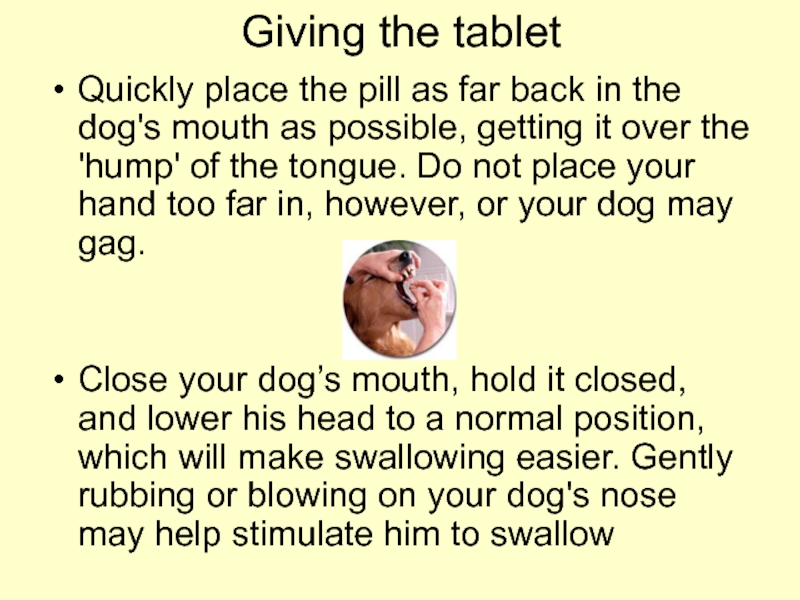
Quickly place the pill as far back in the
dog's mouth as possible, getting it over the 'hump' of the tongue. Do not place your hand too far in, however, or your dog may gag.
Close your dog’s mouth, hold it closed, and lower his head to a normal position, which will make swallowing easier. Gently rubbing or blowing on your dog's nose may help stimulate him to swallow
Close your dog’s mouth, hold it closed, and lower his head to a normal position, which will make swallowing easier. Gently rubbing or blowing on your dog's nose may help stimulate him to swallow
Слайд 23Dental problems
Halitosis (bad breath) is caused by _________ in the mouth,
and may be caused by dental disease.
Tartar is the hard brown accumulation which occurs on teeth. It is caused by mineralisation of __________ which is caused by bacterial action against food particles in the mouth.
The presence of tartar leads to ___________ (gum inflammation). The gums become red, sore and prone to __________ when touched. Chronic tartar and gingivitis lead to periodontal disease - the inflammation causes infection and destruction of the tissue around the tooth. Affected teeth loosen and may …………………...
Слайд 24Dental care
Provide a healthy diet – dry foods cause less build
up of ________
Provide dental chews for dogs – not too often as can cause stomach upsets
Brush dog’s teeth with child’s toothbrush and pet _____________
Regular vet checks
Provide dental chews for dogs – not too often as can cause stomach upsets
Brush dog’s teeth with child’s toothbrush and pet _____________
Regular vet checks
Слайд 25Foot care
Get animal used to claw trimming from an early age
Stroke
the paws frequently, to get them used to being touched
Give a treat during or immediately after trimming
Cat should be resting on a table or your lap
Give a treat during or immediately after trimming
Cat should be resting on a table or your lap
Слайд 26Claw trimming
Hold a paw in one hand and press a toe
pad gently to extend the claw.
Avoid cutting the quick (pink tissue)
Remove the sharp tip below the quick (away from the toe), clipping about halfway between the end of the quick and the tip of claw
Avoid cutting the quick (pink tissue)
Remove the sharp tip below the quick (away from the toe), clipping about halfway between the end of the quick and the tip of claw
