Repair guide for “Led array” презентация

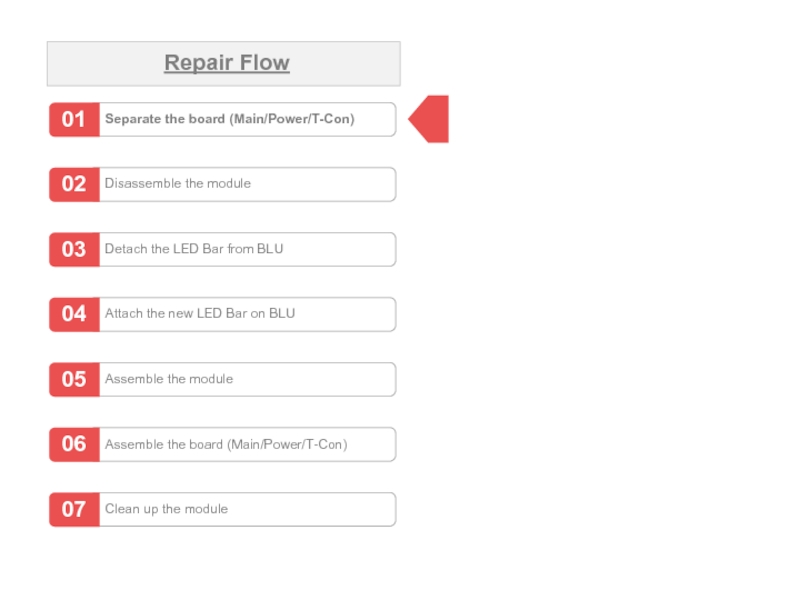
Separate the board (Main/Power/T-Con) Repair Flow Disassemble the module Detach the LED Bar from BLU Assemble the module Attach the new LED Bar on BLU Assemble the

Слайд 1Separate the board (Main/Power/T-Con)


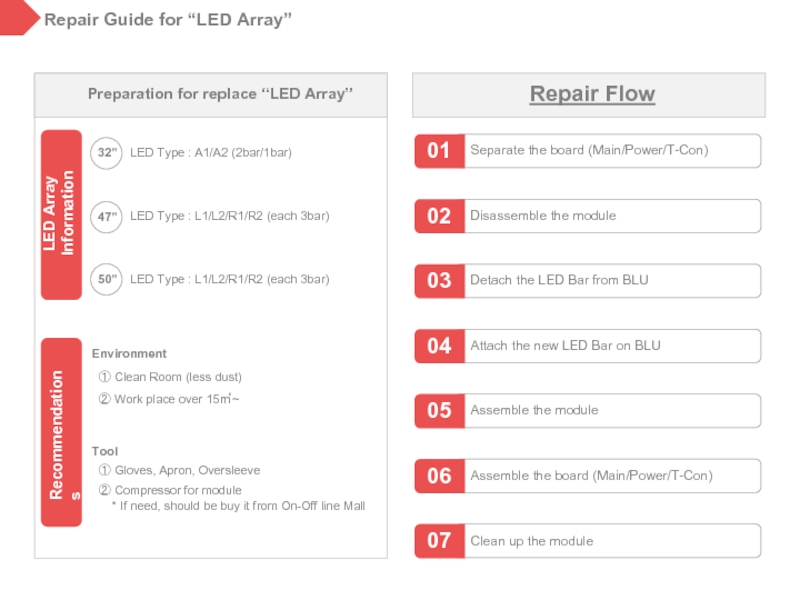
Preparation for replace “LED Array”

LED Type :

A1/A2 (2bar/1bar)

① Clean Room (less dust)


Recommendations


Repair Flow

② Work place over 15㎡~

Disassemble the module

Detach the LED Bar from BLU

Assemble the module

Attach the new LED Bar on BLU

Assemble the board (Main/Power/T-Con)

Clean up the module

LED Array
Information

32”


47”


LED Type : L1/L2/R1/R2 (each 3bar)


50”

LED Type : L1/L2/R1/R2 (each 3bar)

① Gloves, Apron, Oversleeve

Environment

Tool

② Compressor for module
* If need, should be buy it from On-Off line Mall

Repair Guide for “LED Array”


Слайд 2Separate the board (Main/Power/T-Con)

Repair Flow
Disassemble the module
Detach the LED

Bar from BLU

Assemble the module

Attach the new LED Bar on BLU

Assemble the board (Main/Power/T-Con)

Clean up the module


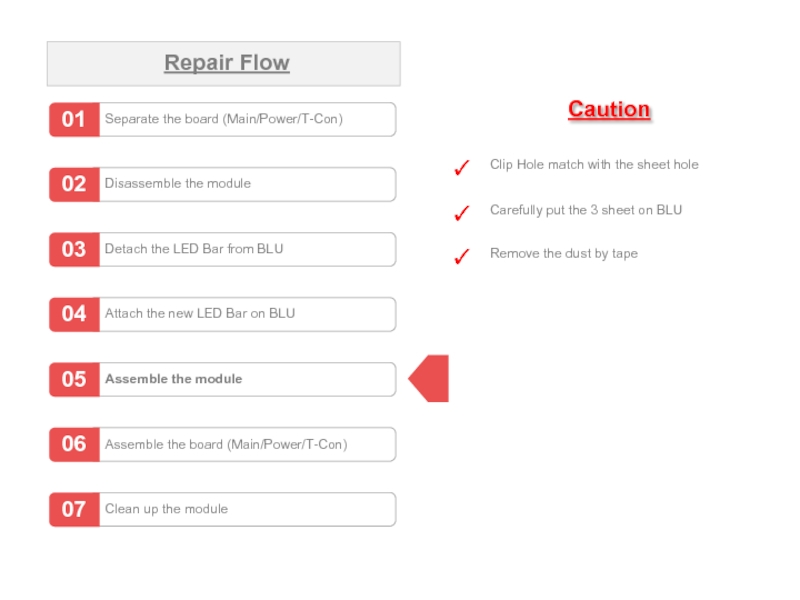
Слайд 3Separate the board (Main/Power/T-Con)

Repair Flow
Disassemble the module
Detach the LED

Bar from BLU

Assemble the module

Attach the new LED Bar on BLU

Assemble the board (Main/Power/T-Con)


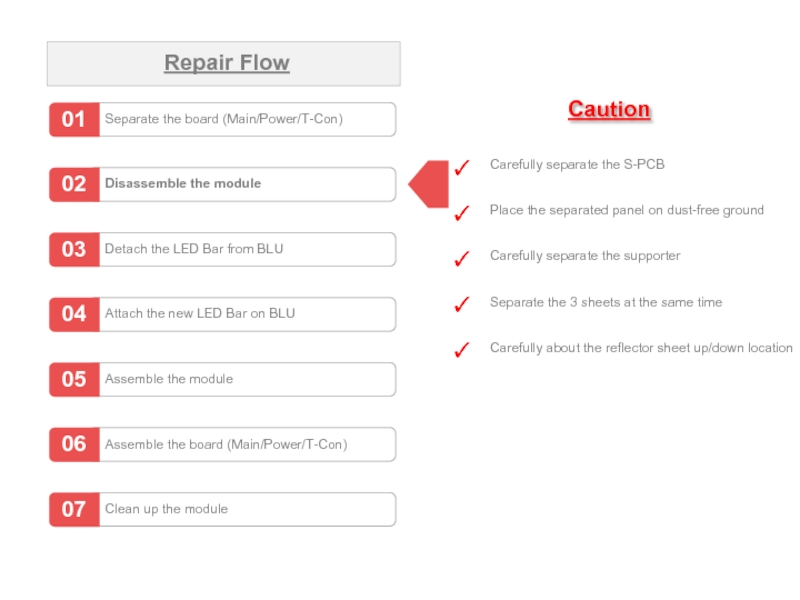
Caution

Carefully separate the S-PCB


Place the separated panel on dust-free ground


Carefully separate the supporter


Separate the 3 sheets at the same time


Carefully about the reflector sheet up/down location


Clean up the module


Слайд 4Separate the board (Main/Power/T-Con)

Repair Flow
Disassemble the module
Detach the LED

Bar from BLU

Assemble the module

Attach the new LED Bar on BLU

Assemble the board (Main/Power/T-Con)


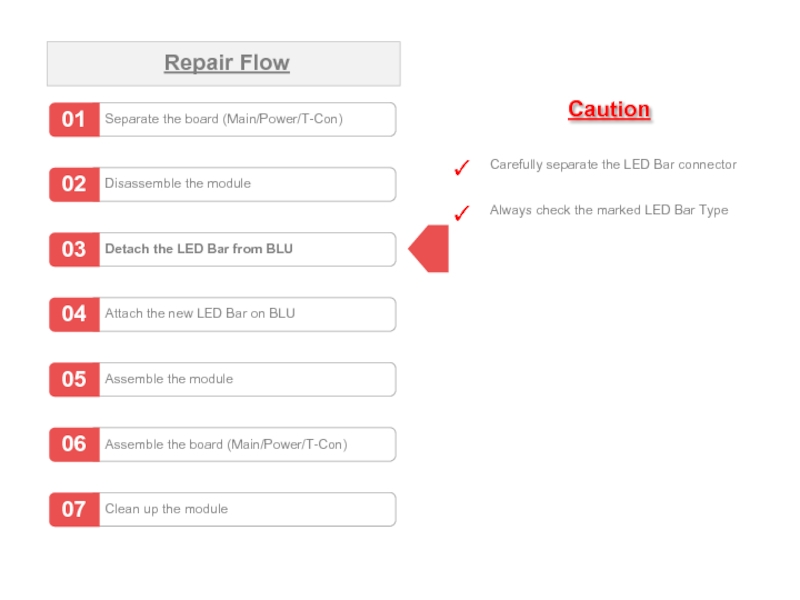
Caution

Carefully separate the LED Bar connector


Always check the marked LED Bar Type


Clean up the module


Слайд 5Separate the board (Main/Power/T-Con)

Repair Flow
Disassemble the module
Detach the LED

Bar from BLU

Assemble the module

Attach the new LED Bar on BLU

Assemble the board (Main/Power/T-Con)


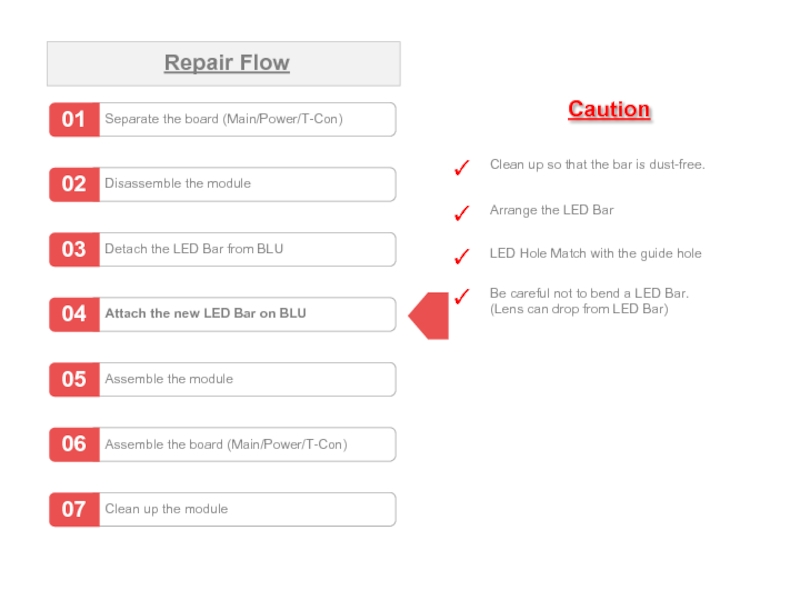
Caution

Clean up so that the bar is dust-free.


Arrange the LED Bar


LED Hole Match with the guide hole


Clean up the module

Be careful not to bend a LED Bar.
(Lens can drop from LED Bar)


Слайд 6Separate the board (Main/Power/T-Con)

Repair Flow
Disassemble the module
Detach the LED

Bar from BLU

Assemble the module

Attach the new LED Bar on BLU

Assemble the board (Main/Power/T-Con)


Caution

Clip Hole match with the sheet hole


Carefully put the 3 sheet on BLU


Remove the dust by tape


Clean up the module


Слайд 7Separate the board (Main/Power/T-Con)

Repair Flow
Disassemble the module
Detach the LED

Bar from BLU

Assemble the module

Attach the new LED Bar on BLU

Assemble the board (Main/Power/T-Con)


Clean up the module


Слайд 8Separate the board (Main/Power/T-Con)

Repair Flow
Disassemble the module
Detach the LED

Bar from BLU

Assemble the module

Attach the new LED Bar on BLU

Assemble the board (Main/Power/T-Con)


Clean up the module


Обратная связь

Если не удалось найти и скачать презентацию, Вы можете заказать его на нашем сайте. Мы постараемся найти нужный Вам материал и отправим по электронной почте. Не стесняйтесь обращаться к нам, если у вас возникли вопросы или пожелания:

Email: Нажмите что бы посмотреть 

Что такое ThePresentation.ru?

Это сайт презентаций, докладов, проектов, шаблонов в формате PowerPoint. Мы помогаем школьникам, студентам, учителям, преподавателям хранить и обмениваться учебными материалами с другими пользователями.


Для правообладателей

Яндекс.Метрика