- Главная
- Разное
- Дизайн
- Бизнес и предпринимательство
- Аналитика
- Образование
- Развлечения
- Красота и здоровье
- Финансы
- Государство
- Путешествия
- Спорт
- Недвижимость
- Армия
- Графика
- Культурология
- Еда и кулинария
- Лингвистика
- Английский язык
- Астрономия
- Алгебра
- Биология
- География
- Детские презентации
- Информатика
- История
- Литература
- Маркетинг
- Математика
- Медицина
- Менеджмент
- Музыка
- МХК
- Немецкий язык
- ОБЖ
- Обществознание
- Окружающий мир
- Педагогика
- Русский язык
- Технология
- Физика
- Философия
- Химия
- Шаблоны, картинки для презентаций
- Экология
- Экономика
- Юриспруденция
DSD, Digital Smile Design презентация
Содержание
- 3. Dr. Paciente:
- 4. Dr(a). Paciente:
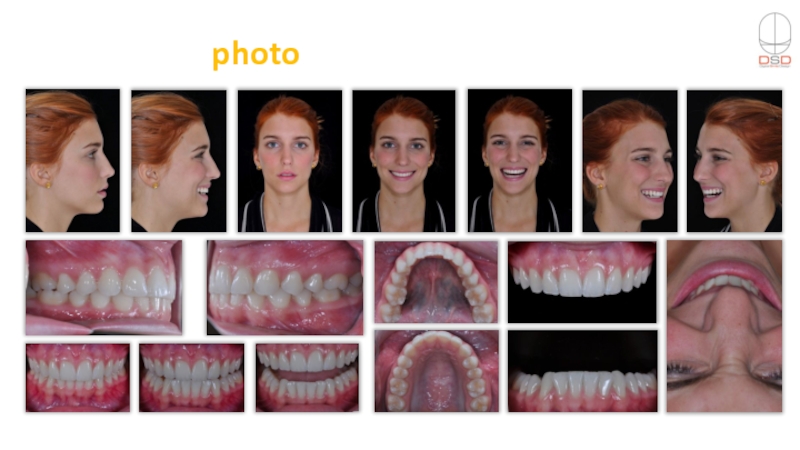
- 5. Simplified photo protocol
- 6. video
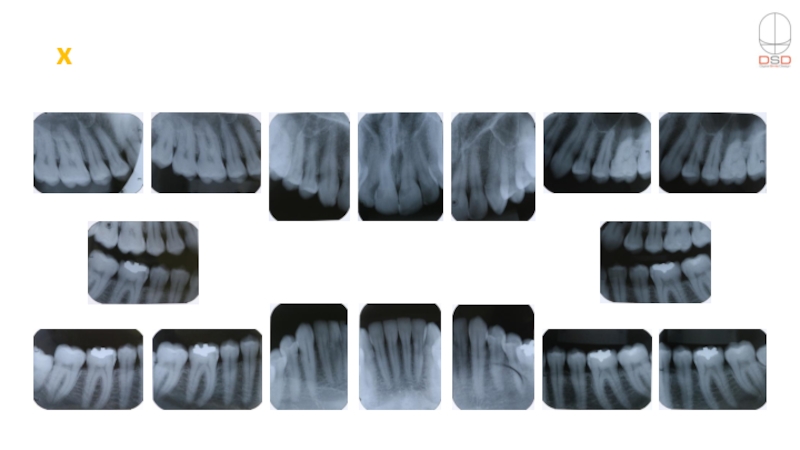
- 7. x-rays
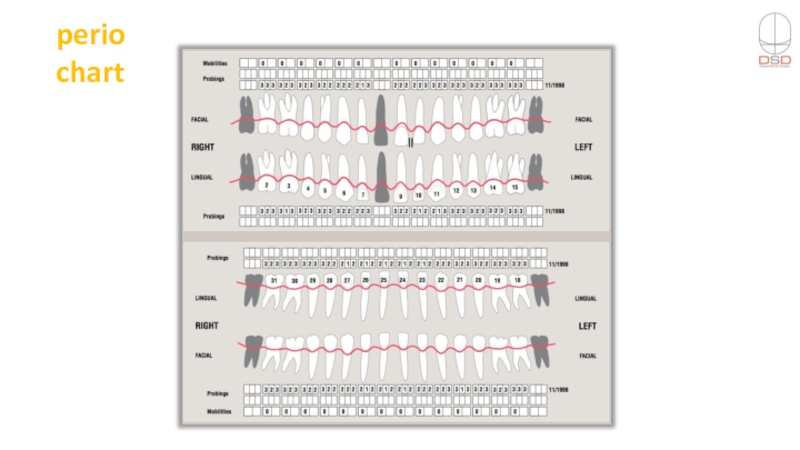
- 8. perio chart
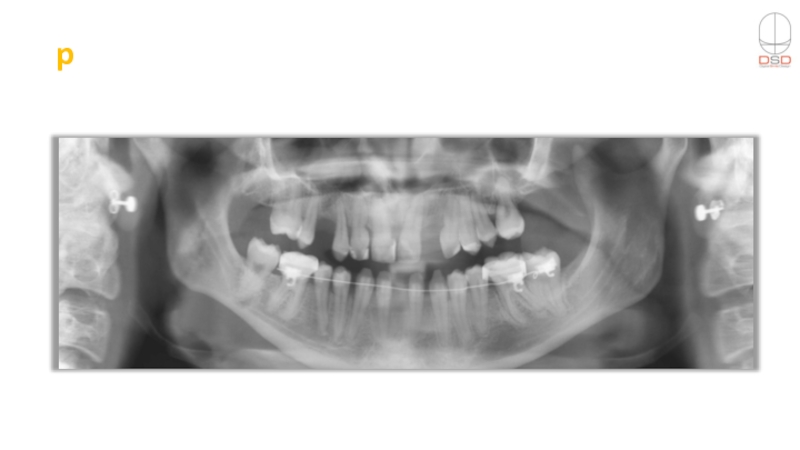
- 9. panoramic
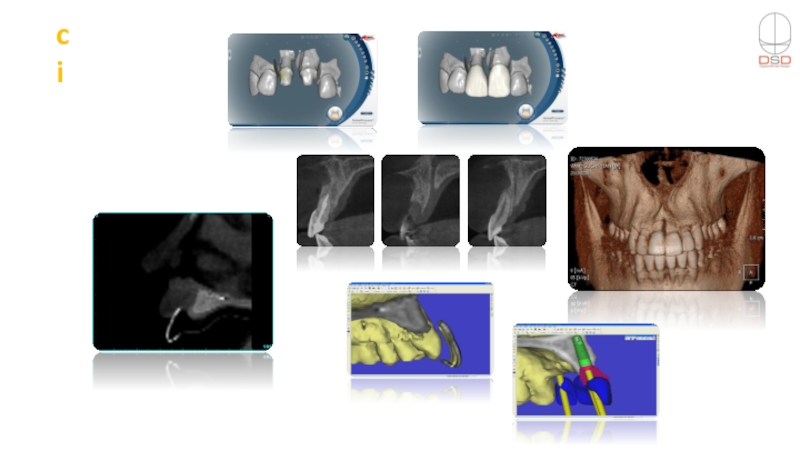
- 10. computer imaging
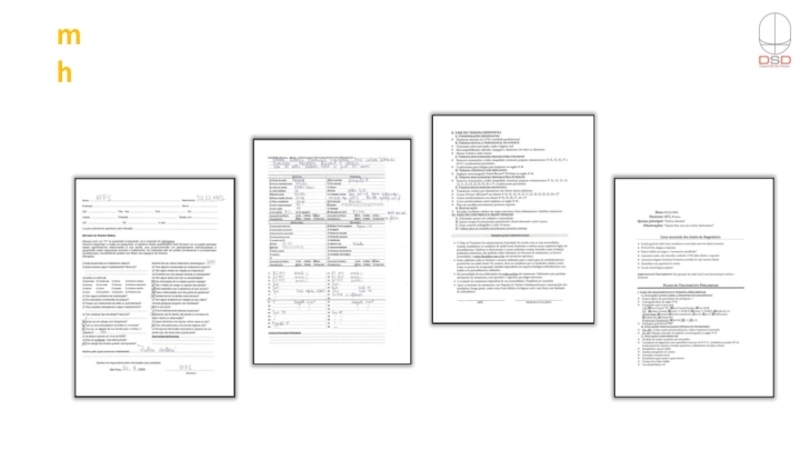
- 11. medical history
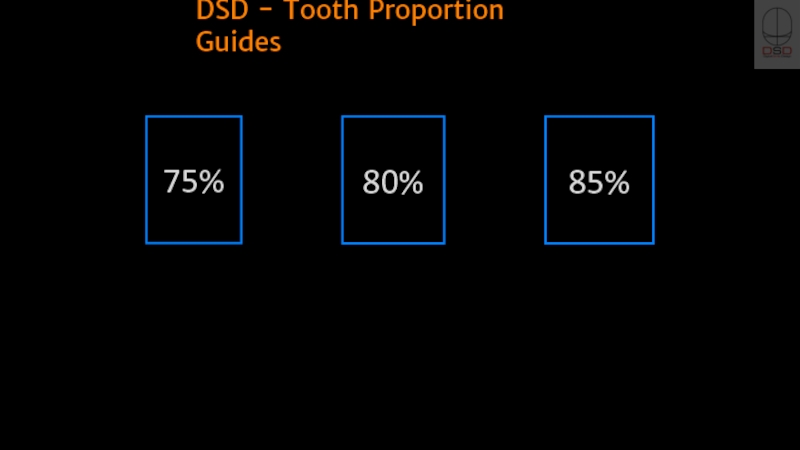
- 14. 80% 75% 85% DSD - Tooth Proportion Guides
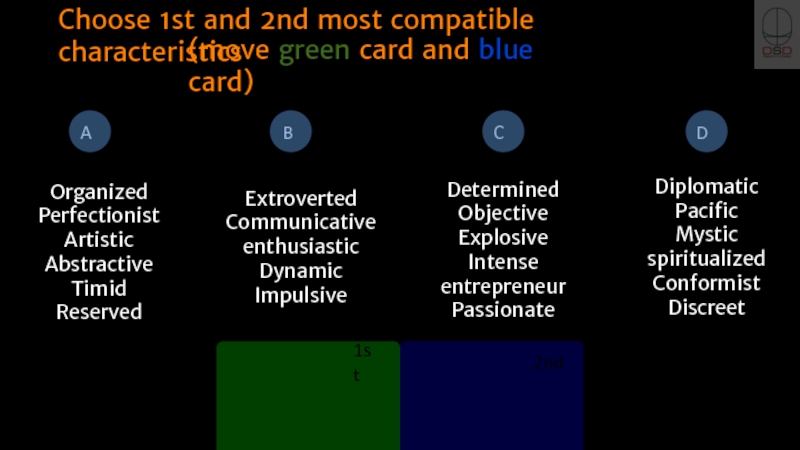
- 16. Choose 1st and 2nd most compatible characteristics
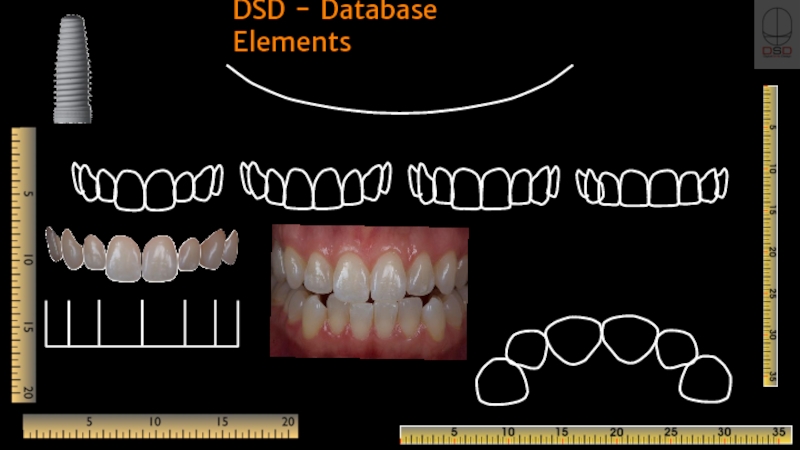
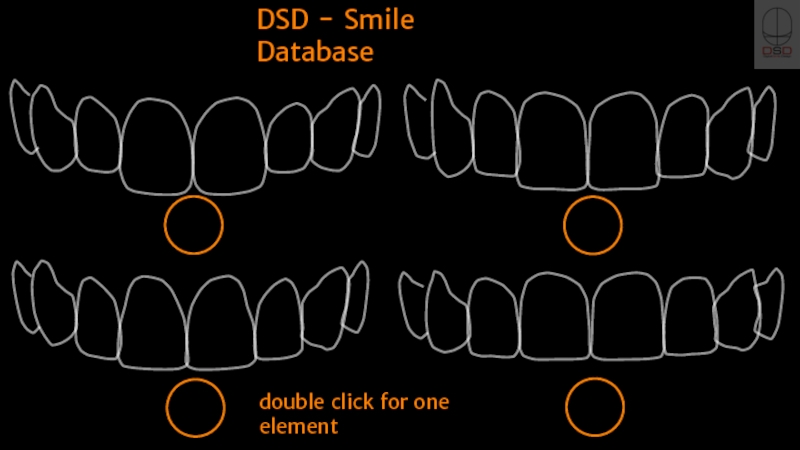
- 17. DSD - Smile Database double click for one element
- 20. Morpho psychology - Visagism Visagism Interview
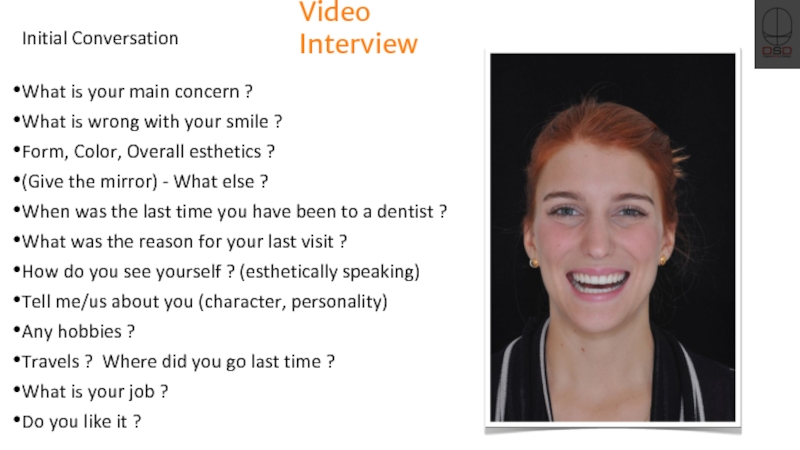
- 21. Video Interview Initial Conversation What is
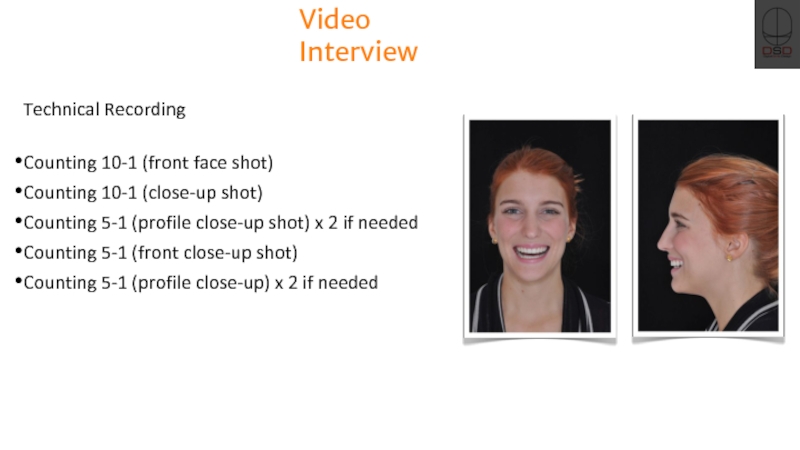
- 22. Video Interview Technical Recording Counting 10-1
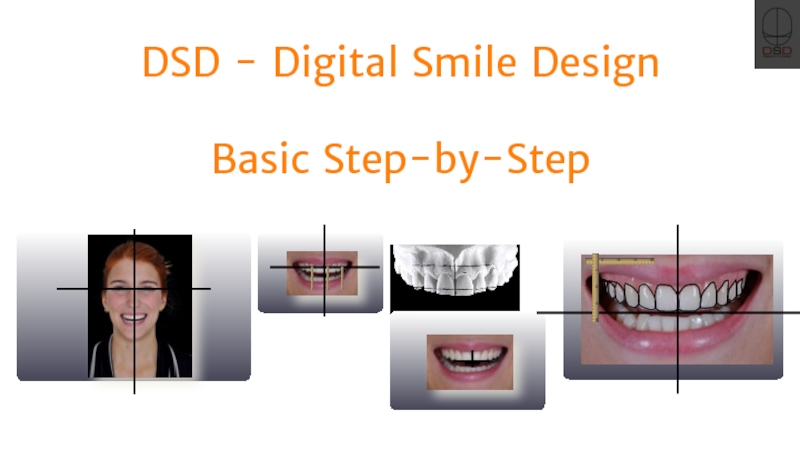
- 23. DSD - Digital Smile Design Basic Step-by-Step
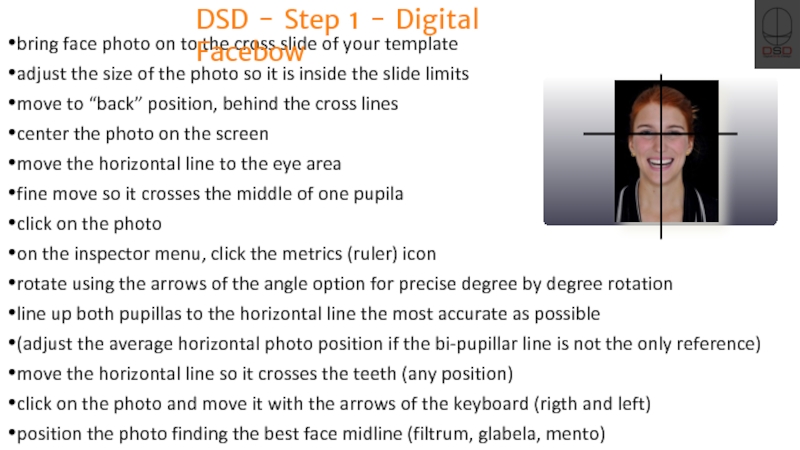
- 24. bring face photo on to the cross
- 25. mask the photo reducing its size focusing
- 26. duplicate the slide, save the presentation ungroup
- 27. copy and paste from any
Слайд 16Choose 1st and 2nd most compatible characteristics
Determined
Objective
Explosive
Intense
entrepreneur
Passionate
Organized
Perfectionist
Artistic
Abstractive
Timid
Reserved
Extroverted
Communicative
enthusiastic
Dynamic
Impulsive
Diplomatic
Pacific
Mystic
spiritualized
Conformist
Discreet
(move green card and blue
Слайд 18
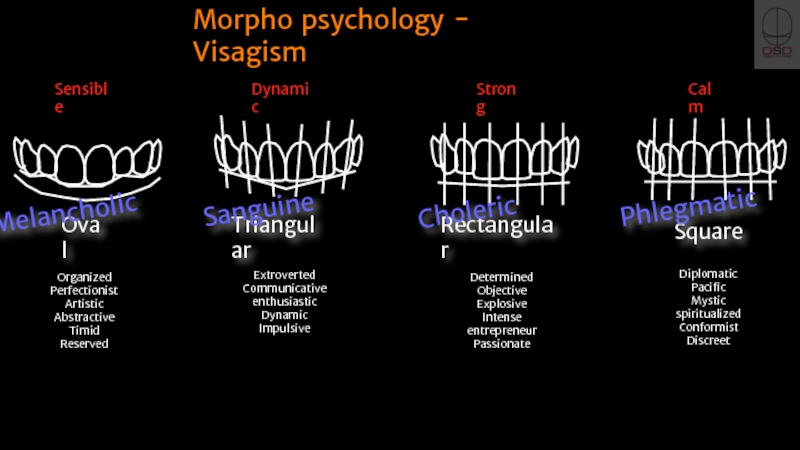
Oval
Triangular
Rectangular
Square
Morpho psychology - Visagism
Melancholic
Sanguine
Choleric
Phlegmatic
Sensible
Dynamic
Strong
Calm
Determined
Objective
Explosive
Intense
entrepreneur
Passionate
Organized
Perfectionist
Artistic
Abstractive
Timid
Reserved
Extroverted
Communicative
enthusiastic
Dynamic
Impulsive
Diplomatic
Pacific
Mystic
spiritualized
Conformist
Discreet
Слайд 19
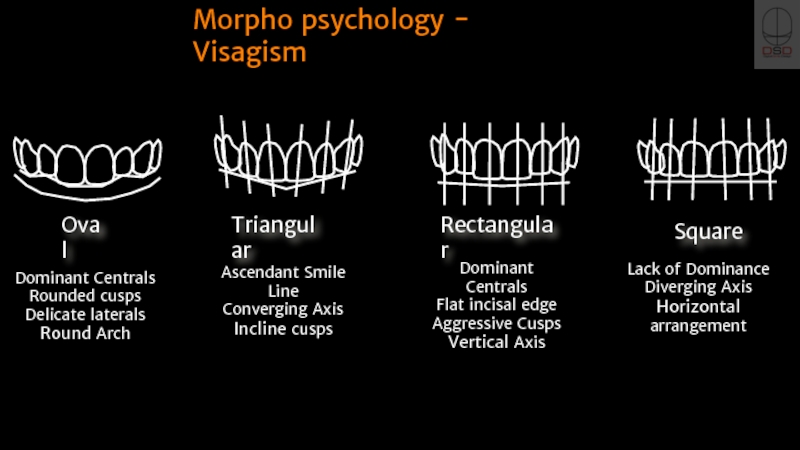
Dominant Centrals
Rounded cusps
Delicate laterals
Round Arch
Ascendant Smile Line
Converging Axis
Incline cusps
Dominant Centrals
Flat incisal
Aggressive Cusps
Vertical Axis
Lack of Dominance
Diverging Axis
Horizontal arrangement
Morpho psychology - Visagism
Oval
Triangular
Rectangular
Square
Слайд 20Morpho psychology - Visagism
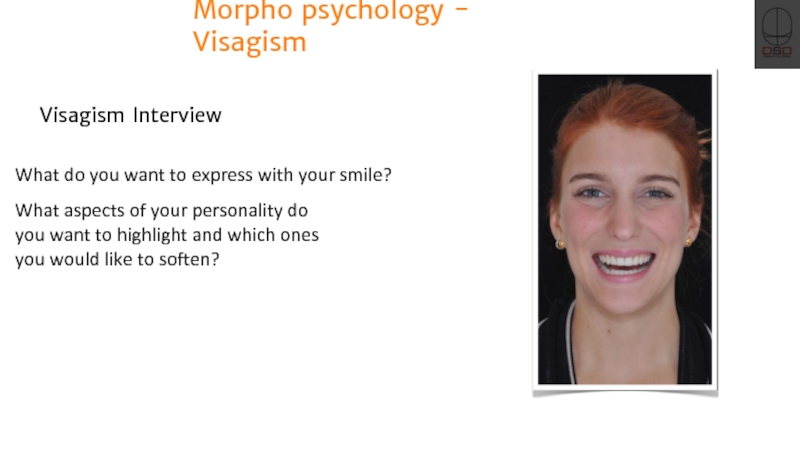
Visagism Interview
What do you want to express
What aspects of your personality do you want to highlight and which ones you would like to soften?
Слайд 21Video Interview
Initial Conversation
What is your main concern ?
What is wrong with
Form, Color, Overall esthetics ?
(Give the mirror) - What else ?
When was the last time you have been to a dentist ?
What was the reason for your last visit ?
How do you see yourself ? (esthetically speaking)
Tell me/us about you (character, personality)
Any hobbies ?
Travels ? Where did you go last time ?
What is your job ?
Do you like it ?
Слайд 22Video Interview
Technical Recording
Counting 10-1 (front face shot)
Counting 10-1 (close-up shot)
Counting 5-1
Counting 5-1 (front close-up shot)
Counting 5-1 (profile close-up) x 2 if needed
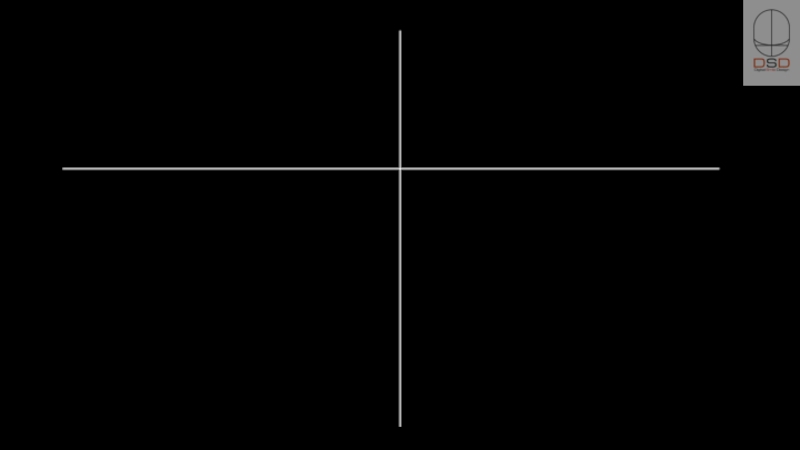
Слайд 24bring face photo on to the cross slide of your template
adjust
move to “back” position, behind the cross lines
center the photo on the screen
move the horizontal line to the eye area
fine move so it crosses the middle of one pupila
click on the photo
on the inspector menu, click the metrics (ruler) icon
rotate using the arrows of the angle option for precise degree by degree rotation
line up both pupillas to the horizontal line the most accurate as possible
(adjust the average horizontal photo position if the bi-pupillar line is not the only reference)
move the horizontal line so it crosses the teeth (any position)
click on the photo and move it with the arrows of the keyboard (rigth and left)
position the photo finding the best face midline (filtrum, glabela, mento)
your digital facebow is now complete
DSD - Step 1 - Digital Facebow
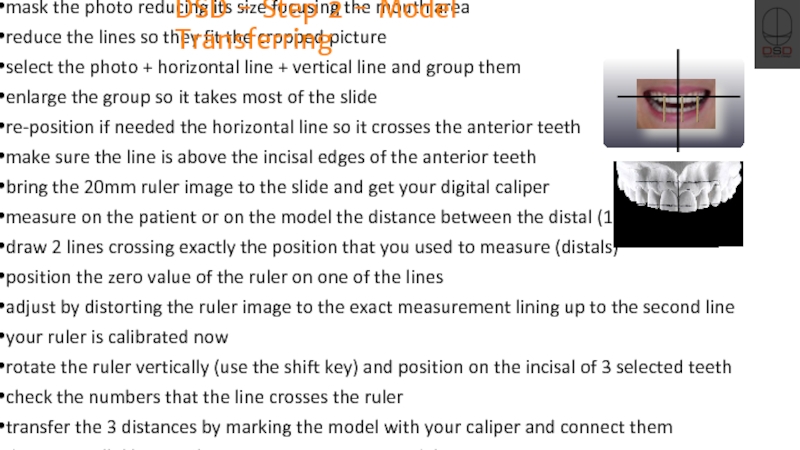
Слайд 25mask the photo reducing its size focusing the mouth area
reduce the
select the photo + horizontal line + vertical line and group them
enlarge the group so it takes most of the slide
re-position if needed the horizontal line so it crosses the anterior teeth
make sure the line is above the incisal edges of the anterior teeth
bring the 20mm ruler image to the slide and get your digital caliper
measure on the patient or on the model the distance between the distal (11) to distal (21)
draw 2 lines crossing exactly the position that you used to measure (distals)
position the zero value of the ruler on one of the lines
adjust by distorting the ruler image to the exact measurement lining up to the second line
your ruler is calibrated now
rotate the ruler vertically (use the shift key) and position on the incisal of 3 selected teeth
check the numbers that the line crosses the ruler
transfer the 3 distances by marking the model with your caliper and connect them
draw a parallel line on the gingiva area of your model
do the same procedure for the vertical line, your cross is transferred to the model
DSD - Step 2 - Model Transferring
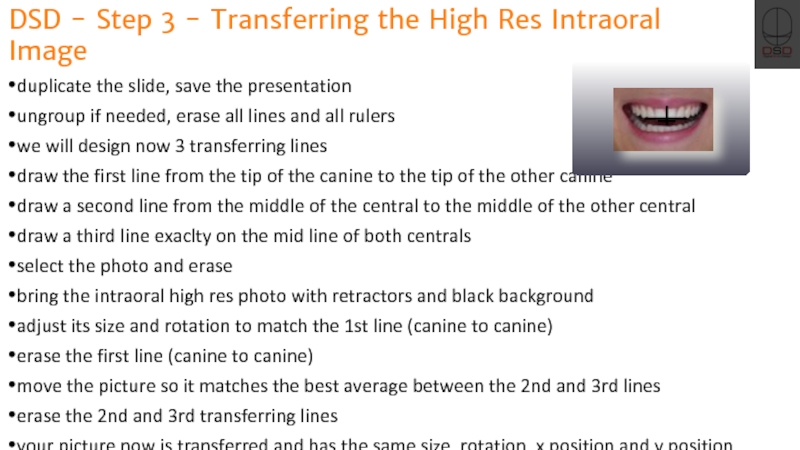
Слайд 26duplicate the slide, save the presentation
ungroup if needed, erase all lines
we will design now 3 transferring lines
draw the first line from the tip of the canine to the tip of the other canine
draw a second line from the middle of the central to the middle of the other central
draw a third line exaclty on the mid line of both centrals
select the photo and erase
bring the intraoral high res photo with retractors and black background
adjust its size and rotation to match the 1st line (canine to canine)
erase the first line (canine to canine)
move the picture so it matches the best average between the 2nd and 3rd lines
erase the 2nd and 3rd transferring lines
your picture now is transferred and has the same size, rotation, x position and y position
DSD - Step 3 - Transferring the High Res Intraoral Image
Слайд 27
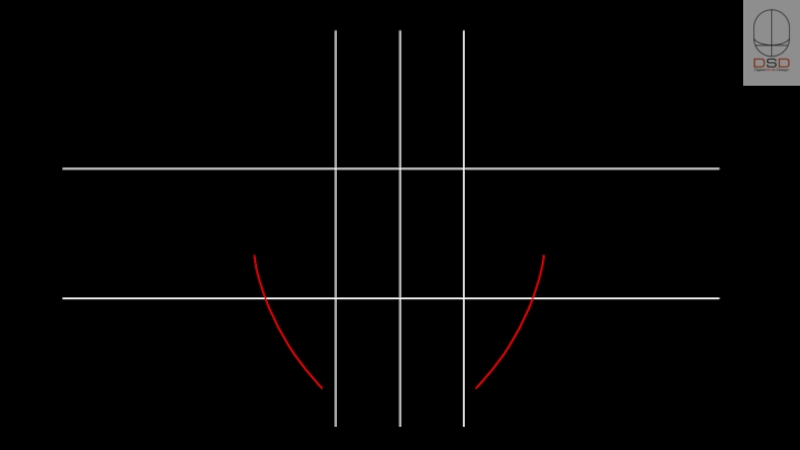
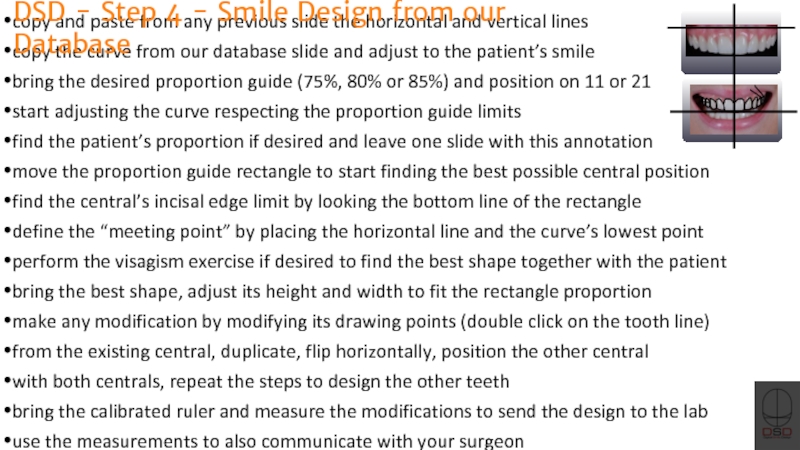
copy and paste from any previous slide the horizontal and vertical
copy the curve from our database slide and adjust to the patient’s smile
bring the desired proportion guide (75%, 80% or 85%) and position on 11 or 21
start adjusting the curve respecting the proportion guide limits
find the patient’s proportion if desired and leave one slide with this annotation
move the proportion guide rectangle to start finding the best possible central position
find the central’s incisal edge limit by looking the bottom line of the rectangle
define the “meeting point” by placing the horizontal line and the curve’s lowest point
perform the visagism exercise if desired to find the best shape together with the patient
bring the best shape, adjust its height and width to fit the rectangle proportion
make any modification by modifying its drawing points (double click on the tooth line)
from the existing central, duplicate, flip horizontally, position the other central
with both centrals, repeat the steps to design the other teeth
bring the calibrated ruler and measure the modifications to send the design to the lab
use the measurements to also communicate with your surgeon
your digital smile design is completed
DSD - Step 4 - Smile Design from our Database
