- Главная
- Разное
- Дизайн
- Бизнес и предпринимательство
- Аналитика
- Образование
- Развлечения
- Красота и здоровье
- Финансы
- Государство
- Путешествия
- Спорт
- Недвижимость
- Армия
- Графика
- Культурология
- Еда и кулинария
- Лингвистика
- Английский язык
- Астрономия
- Алгебра
- Биология
- География
- Детские презентации
- Информатика
- История
- Литература
- Маркетинг
- Математика
- Медицина
- Менеджмент
- Музыка
- МХК
- Немецкий язык
- ОБЖ
- Обществознание
- Окружающий мир
- Педагогика
- Русский язык
- Технология
- Физика
- Философия
- Химия
- Шаблоны, картинки для презентаций
- Экология
- Экономика
- Юриспруденция
Technical English. Vocabulary презентация
Содержание
- 1. Technical English. Vocabulary
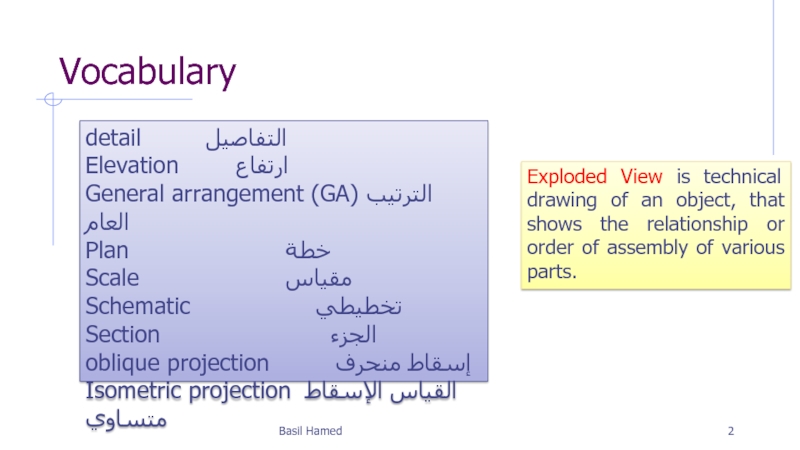
- 2. Vocabulary Basil Hamed detail التفاصيل Elevation ارتفاع General
- 3. Outline Drawing types and scales Types of views used on drawings
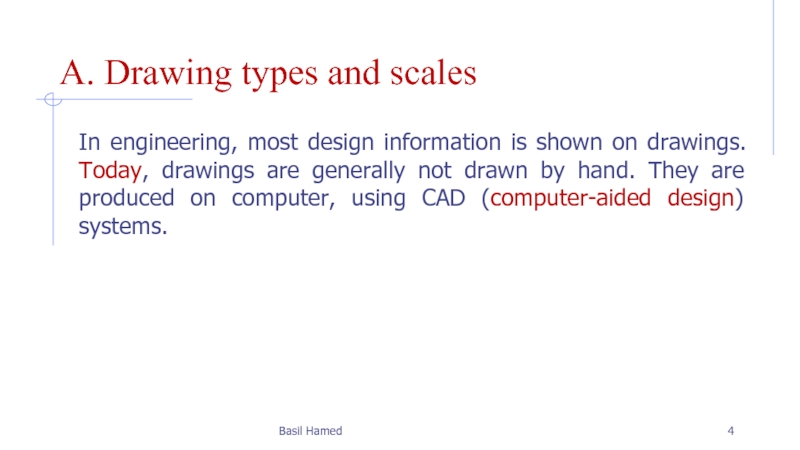
- 4. A. Drawing types and scales In engineering,
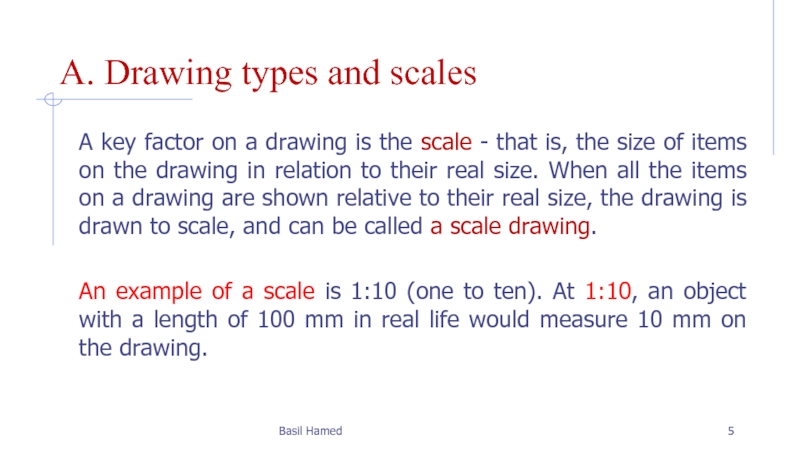
- 5. A. Drawing types and scales A key
- 6. A. Drawing types and scales Most engineering
- 7. A. Drawing types and scales For electrical
- 8. B. Types of views used on drawings
- 9. B. Types of views used on drawings
- 10. Appendix I Three-dimensional drawings An oblique projection
- 11. Appendix I Three-dimensional drawings An isometric projection
- 12. Appendix I Three-dimensional drawings An exploded view
- 13. Exercise 1.1 Complete the sentences. Look at
- 14. Exercise 1.2 Match the descriptions (1-6) with
- 15. Exercise 1.3 Write the full forms, in
- 16. Exercise 1.4 Complete the sentences, taken from
- 17. End of Unit One
Слайд 2Vocabulary
Basil Hamed
detail التفاصيل
Elevation ارتفاع
General arrangement (GA) الترتيب العام
Plan
Scale مقياس
Schematic تخطيطي
Section الجزء
oblique projection إسقاط منحرف
Isometric projection القياس الإسقاط متساوي
Exploded View is technical drawing of an object, that shows the relationship or order of assembly of various parts.
Слайд 4A. Drawing types and scales
In engineering, most design information is shown
Basil Hamed
Слайд 5A. Drawing types and scales
A key factor on a drawing is
An example of a scale is 1:10 (one to ten). At 1:10, an object with a length of 100 mm in real life would measure 10 mm on the drawing.
Basil Hamed
Слайд 6A. Drawing types and scales
Most engineering designs consist of a set
General arrangement (GA) drawings show whole devices or structures, using a small scale. This means objects on the drawing are small, relative to their real size (for example, a 1:100 drawing of an entire building).
Detail drawings show parts in detail, using a large scale, such as 1:5 or 1:2. Small parts are sometimes shown in a detail as actual size (1:1), or can be enlarged to bigger than actual size (for example, 2:1).
Basil Hamed
Слайд 7A. Drawing types and scales
For electrical circuits, and pipe and duct
Notes: When written, drawing is often abbreviated to dwg.
Basil Hamed
Слайд 8B. Types of views used on drawings
Technicians are discussing different views
We need a view from above showing -the general arrangement of all of -the roof panels - a plan of -the whole area.
According "to this list, -there are of all elevation four sides of -the machine on drawing 28. So one of Those should show the front of the machine.
Basil Hamed
Слайд 9B. Types of views used on drawings
There should be a section
We need an exploded view of -the mechanism, showing -the components spaced out.
It's hard "to visualize This assembly, based on two-dimensional elevations and sections. It would be clearer if we had a three-dimensional view, as either an oblique projection or an Isometric projection.
Basil Hamed
Слайд 10Appendix I Three-dimensional drawings
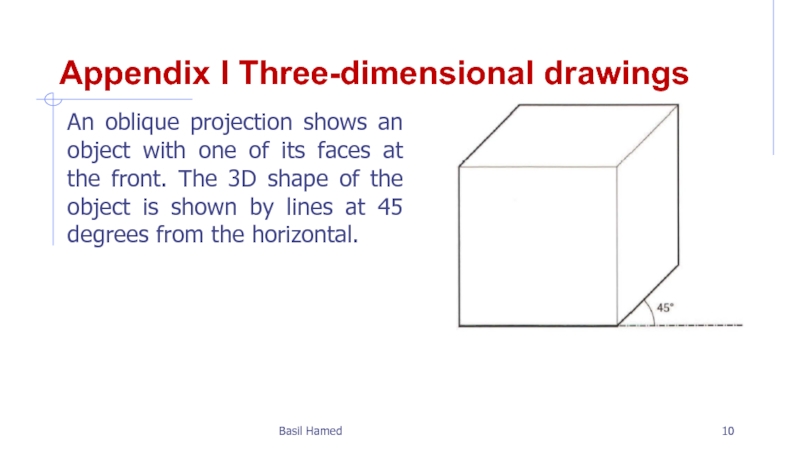
An oblique projection shows an object with one
Basil Hamed
Слайд 11Appendix I Three-dimensional drawings
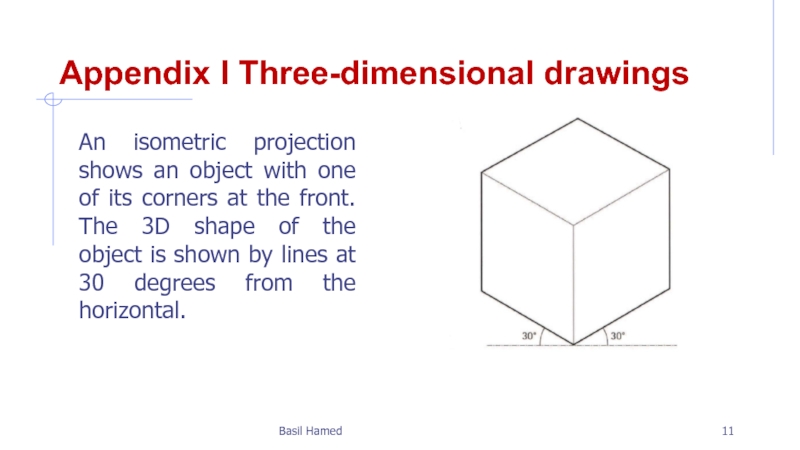
An isometric projection shows an object with one
Basil Hamed
Слайд 12Appendix I Three-dimensional drawings
An exploded view shows an assembly with its
Basil Hamed
Слайд 13Exercise
1.1 Complete the sentences. Look at A opposite to help you
1.
2 For engineering drawings, 1:5 is a commonly used ..........................
3 Whole machines or structures are shown on ............................ drawings.
4 Electrical drawings don't usually show sizes. They're shown as ............. .
5 A ......................... of drawings for a large project can consist of hundreds of pages.
6 Most drawings are produced on computers, using .................... software.
Basil Hamed
Слайд 14Exercise
1.2 Match the descriptions (1-6) with the names of views used
Basil Hamed
Слайд 15Exercise
1.3 Write the full forms, in words, of the abbreviations and
Basil Hamed
1 general arrangement
2 computer-aided design
3 drawing
4 three-dimensional
5 cross-section
6 one to fifty
Слайд 16Exercise
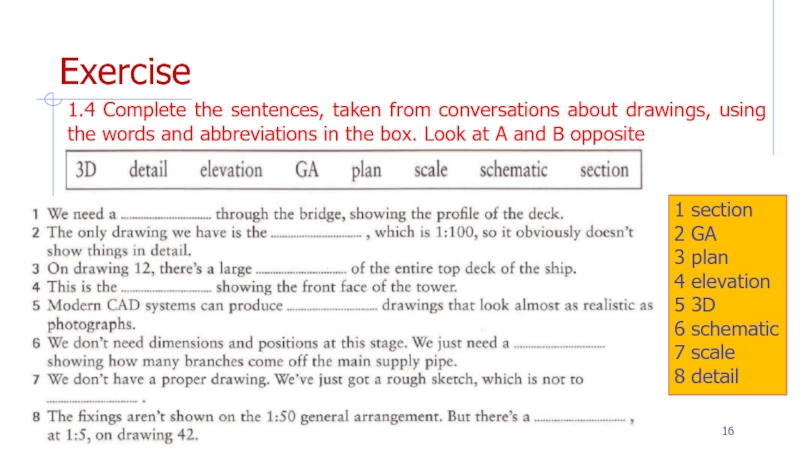
1.4 Complete the sentences, taken from conversations about drawings, using the
Basil Hamed
1 section
2 GA
3 plan
4 elevation
5 3D
6 schematic
7 scale
8 detail

